Art Department Mix Media Videos
|
|
Mixed Media Techniques
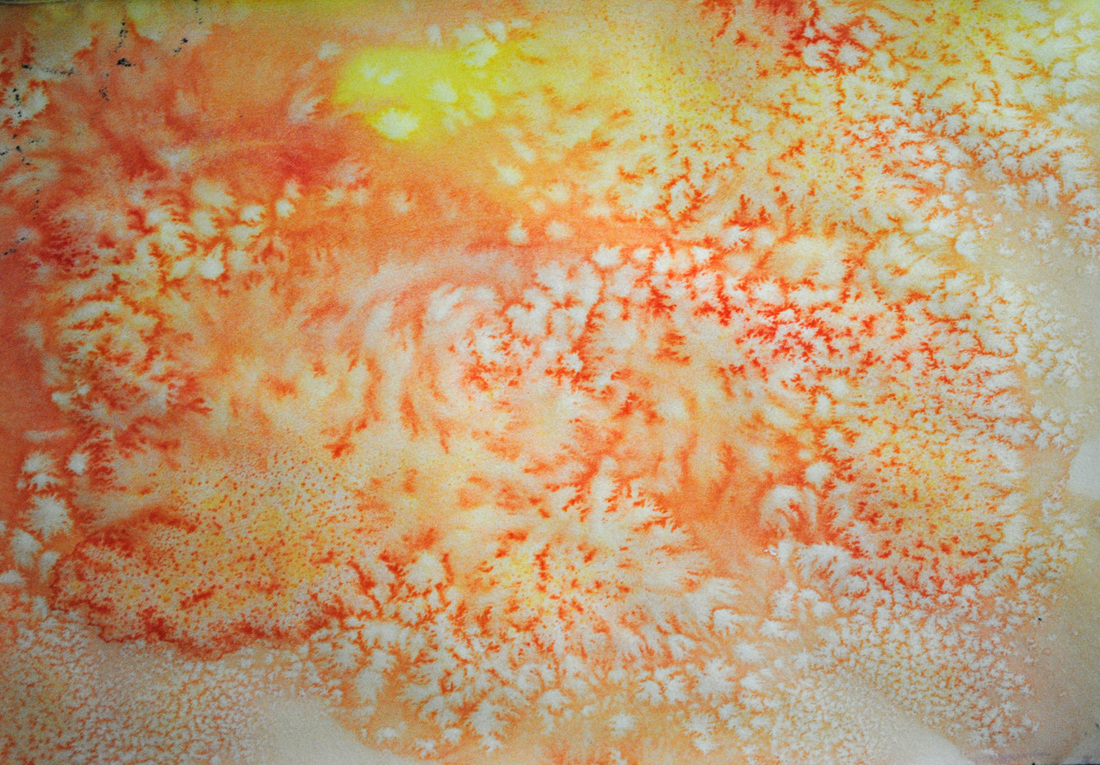
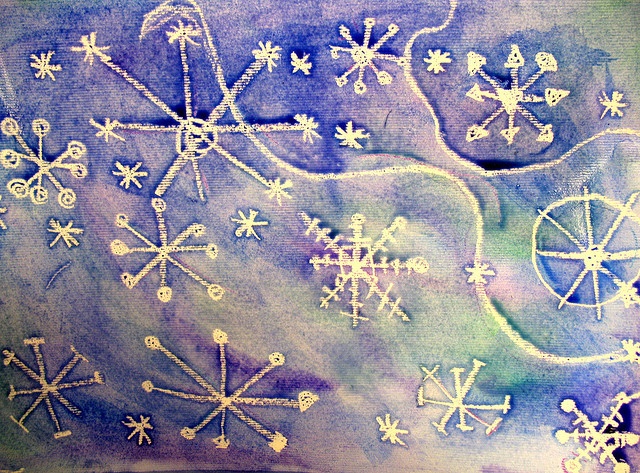
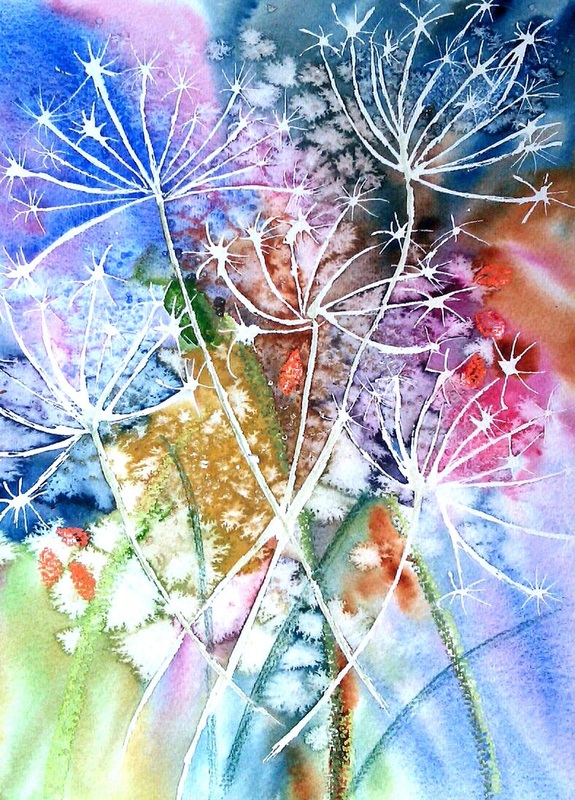
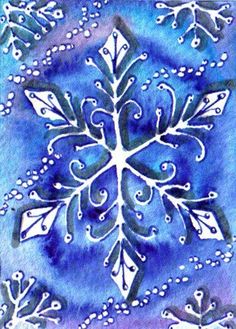
Pass the salt!
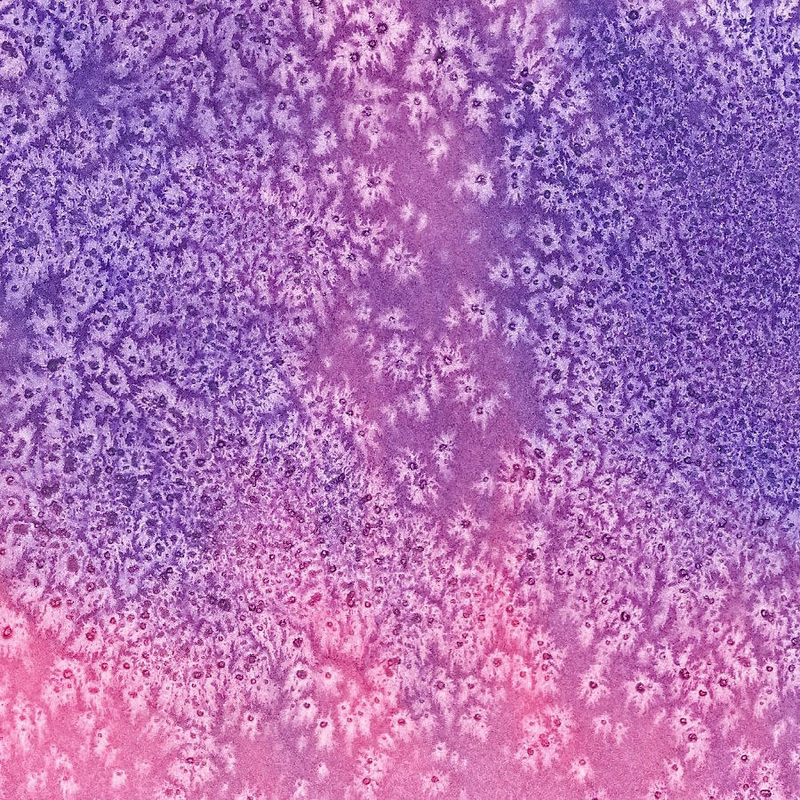
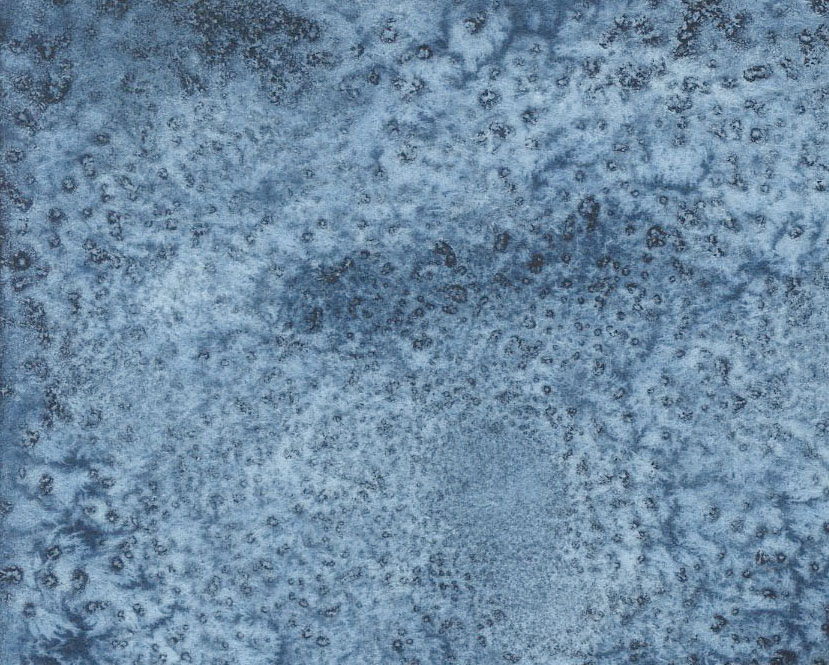
Apply watercolor paints using LOTS of pigment and LOTS of water. You should reload your brush several times, really applying a saturated pool of color to your surface. While paint is very wet, sprinkle salt in areas and wait to dry. With enough pigment and water, the salt will cause a dramatic crystallization effect to make a magical texture that simulates stars or whatever your imagination desires. When the paint is completely dry, brush away the salt to reveal the pattern. This is a chemical reaction that may develop gradually as the paint dries. Especially thick salt may require some scraping to remove. The larger the salt granules the larger the pattern created.
Apply watercolor paints using LOTS of pigment and LOTS of water. You should reload your brush several times, really applying a saturated pool of color to your surface. While paint is very wet, sprinkle salt in areas and wait to dry. With enough pigment and water, the salt will cause a dramatic crystallization effect to make a magical texture that simulates stars or whatever your imagination desires. When the paint is completely dry, brush away the salt to reveal the pattern. This is a chemical reaction that may develop gradually as the paint dries. Especially thick salt may require some scraping to remove. The larger the salt granules the larger the pattern created.
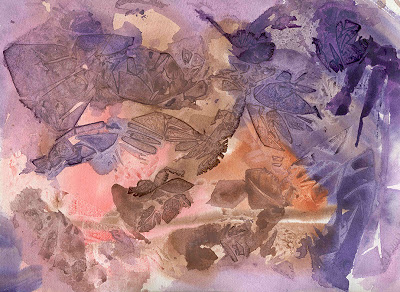
Plastic Surgery
Lay down a generous pool of watercolor paint. While still completely wet, tear off a piece of plastic kitchen wrap and manipulate with both hands to add wrinkles. Lay on top of wet paint in a strategic or random way. The paint will pool up under the wrinkles and be moved aside where the plastic wrap touches the page. After paint completely dries, remove the plastic wrap and the wrinkles remain. This is a fun effect on its own, but can also be used to simulate drapery under a still life drawing or as garments for a figure.
Lay down a generous pool of watercolor paint. While still completely wet, tear off a piece of plastic kitchen wrap and manipulate with both hands to add wrinkles. Lay on top of wet paint in a strategic or random way. The paint will pool up under the wrinkles and be moved aside where the plastic wrap touches the page. After paint completely dries, remove the plastic wrap and the wrinkles remain. This is a fun effect on its own, but can also be used to simulate drapery under a still life drawing or as garments for a figure.

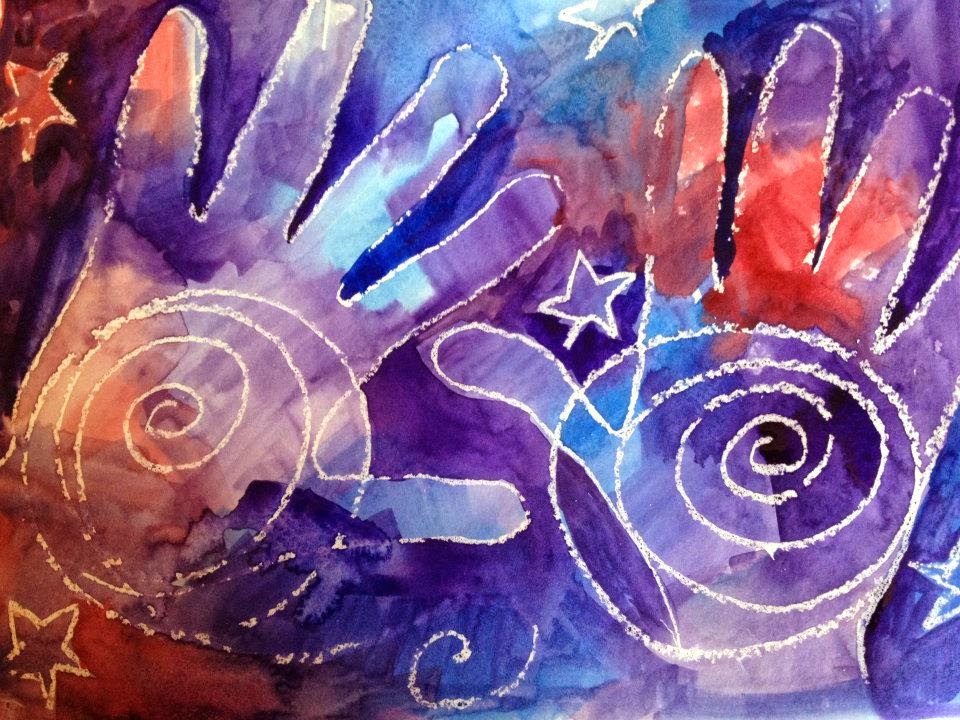
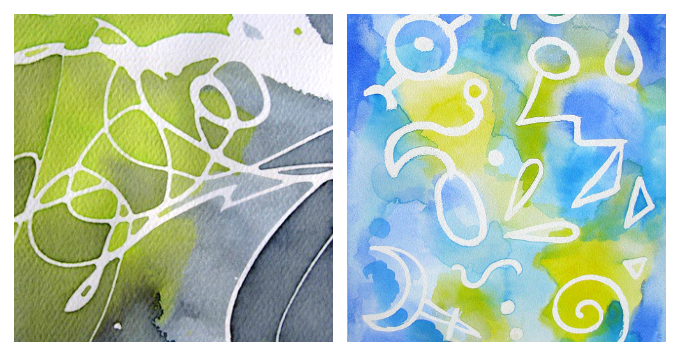
Don't resist the temptation
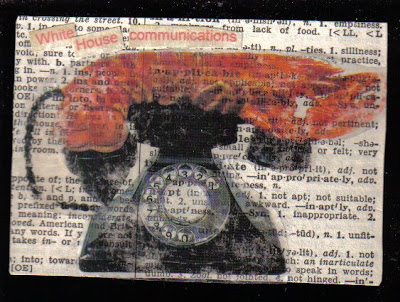
Use a crayon or an oil pastel to write a message, record a thought or to draw a picture, pattern or texture. Then paint watercolor overtop. The waxy dry medium will resist the wet media in a random and lyrical way. Use contrasting colors to reveal text (dark paint over a light color or light paint over a dark color) or choose similar colors to obscure the text (such as purple over dark blue) minimizing the message and leaving a rich texture to consider.
Use a crayon or an oil pastel to write a message, record a thought or to draw a picture, pattern or texture. Then paint watercolor overtop. The waxy dry medium will resist the wet media in a random and lyrical way. Use contrasting colors to reveal text (dark paint over a light color or light paint over a dark color) or choose similar colors to obscure the text (such as purple over dark blue) minimizing the message and leaving a rich texture to consider.
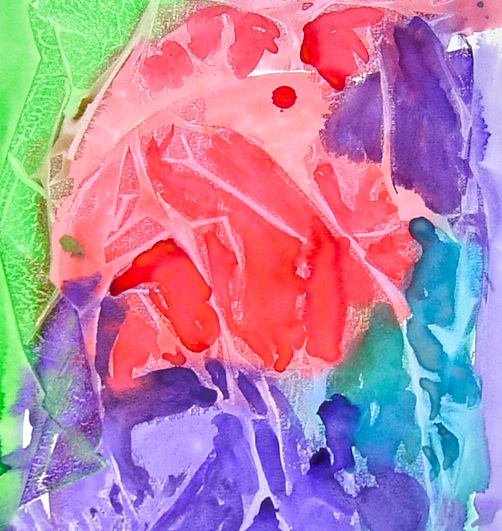
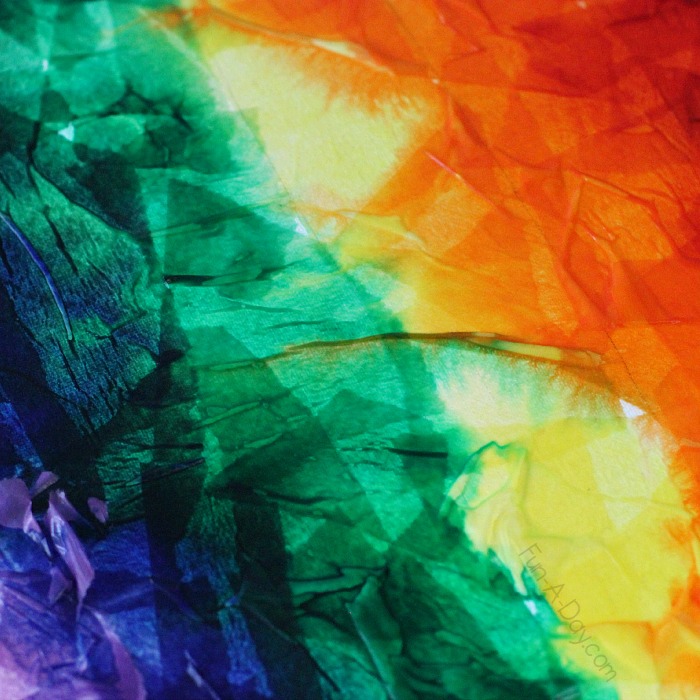
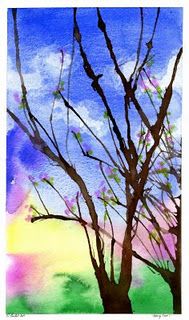
Ahh Choo! I think I need a tissue!
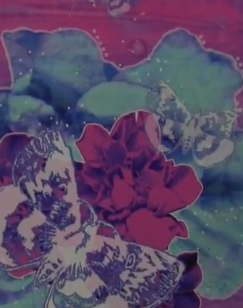
Another bleed technique takes advantage of tissue paper that bleeds when wet. Wet you paper then layer tissue paper on, overlapping in areas to encourage color mixing (such as blue over red to make purple). Sprits tissue paper with more water and wait until it dries. Peel off to reveal a riot of transparent color.
Another bleed technique takes advantage of tissue paper that bleeds when wet. Wet you paper then layer tissue paper on, overlapping in areas to encourage color mixing (such as blue over red to make purple). Sprits tissue paper with more water and wait until it dries. Peel off to reveal a riot of transparent color.


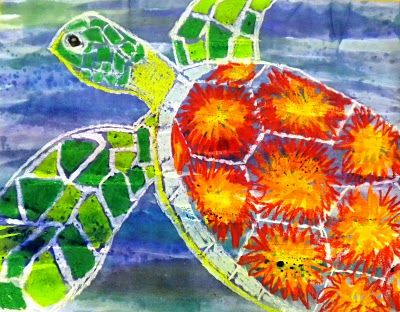
Masquerade
Masking fluid is a liquid masque that you paint onto paper to resist watercolor paint. Use masque for precision to block out areas to create a design, to further investigate later or use it to protect a previous image. Paint liquid masque and allow drying. Paint with watercolor. Repeat layers as desired. Use finger to roll off masque when paint is completely dry.
Masking fluid is a liquid masque that you paint onto paper to resist watercolor paint. Use masque for precision to block out areas to create a design, to further investigate later or use it to protect a previous image. Paint liquid masque and allow drying. Paint with watercolor. Repeat layers as desired. Use finger to roll off masque when paint is completely dry.
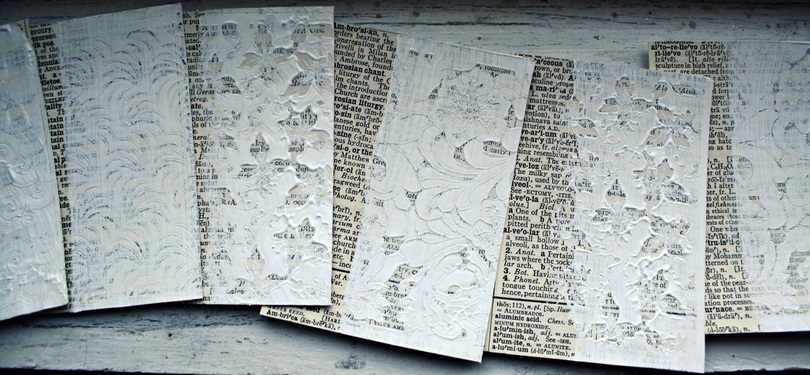
Invisible writing
Apply gesso to the pages of your journal, one section at a time. While the gesso is still wet, turn over your paintbrush and write into the surface. Use a hair dryer to speed drying and place wax paper in between pages so you can keep on going. This creates a lush surface to work over later and also gets the “blocking thoughts” out of your mind so you can move onto the real work!
Apply gesso to the pages of your journal, one section at a time. While the gesso is still wet, turn over your paintbrush and write into the surface. Use a hair dryer to speed drying and place wax paper in between pages so you can keep on going. This creates a lush surface to work over later and also gets the “blocking thoughts” out of your mind so you can move onto the real work!
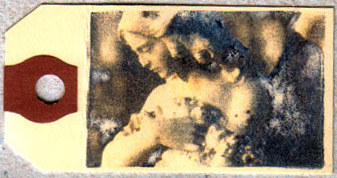
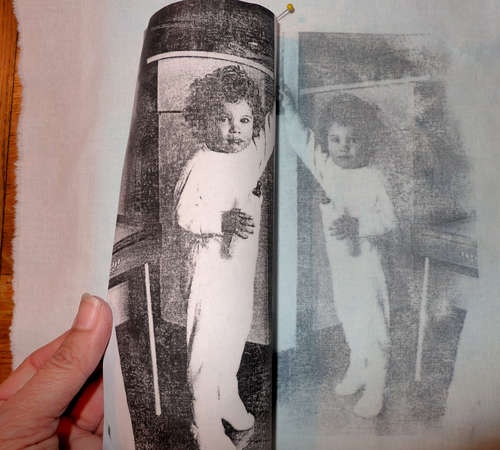
Make your own sticker
This one is almost too easy to believe. Start with a toner-based copy (from a laser printer, NOT ink jet). Cut out around the image, leaving plenty of room to trim it later. Tape over the front of the image with clear packing tape and burnish with the handles of your scissors. Now, trim the image to size – the size of the tape is the size of the sticker. Place image into a pan of plain water. The water will weaken the paper fibers and allow you to gently rub it off. When all of the paper fiber has been removed, the image will be slick on both sides. You are ready to place it into your journal!
This one is almost too easy to believe. Start with a toner-based copy (from a laser printer, NOT ink jet). Cut out around the image, leaving plenty of room to trim it later. Tape over the front of the image with clear packing tape and burnish with the handles of your scissors. Now, trim the image to size – the size of the tape is the size of the sticker. Place image into a pan of plain water. The water will weaken the paper fibers and allow you to gently rub it off. When all of the paper fiber has been removed, the image will be slick on both sides. You are ready to place it into your journal!
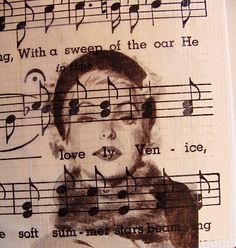
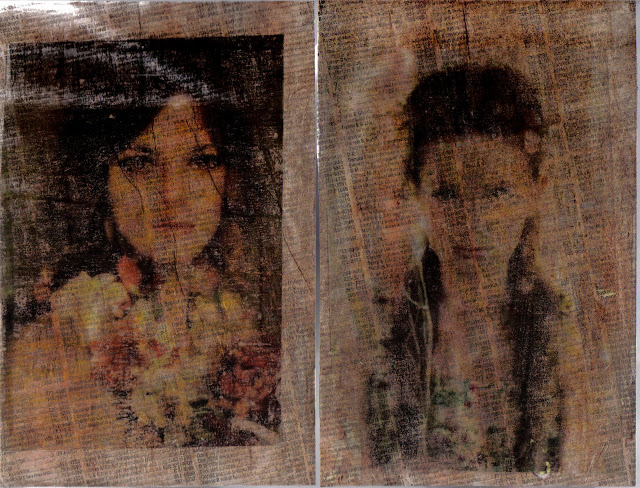
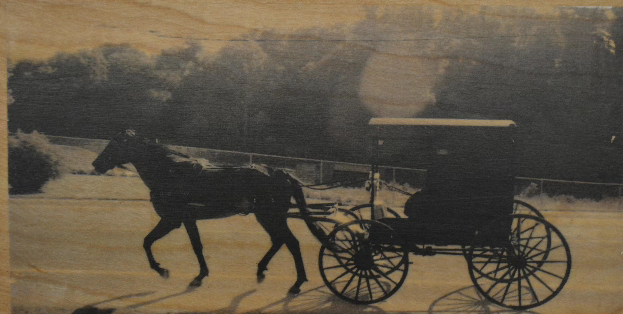
Solvent transfers stink
Smelly, yes, but effective. Use a clear blender marker that contains the solvent xylene (Design brand or Chartpak only – others have alcohol and will not work for this technique). Tape toner-based image face down where you want to transfer. Apply xylene on back until wet and burnish with closed marker. This will work with color or black and white laser copies.
Smelly, yes, but effective. Use a clear blender marker that contains the solvent xylene (Design brand or Chartpak only – others have alcohol and will not work for this technique). Tape toner-based image face down where you want to transfer. Apply xylene on back until wet and burnish with closed marker. This will work with color or black and white laser copies.

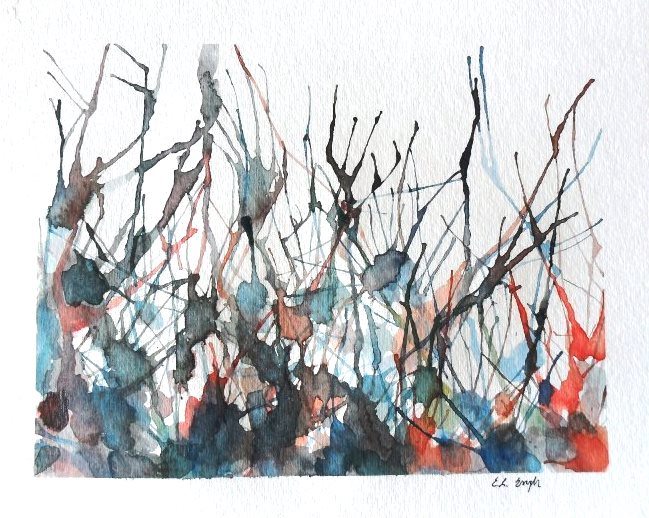
Don't Blow it!
Explore blow painting and learn about how your breath can force the direction and have an effect on your creations. A few drops of colors are placed on the page using a small watercolor brush. The brush is then put aside and the straw is the primary tool. After the watercolor has spread, more drops are added and blown.This unconventional way of painting will open up students to new ways of using tools to make art. They usually think it is silly and therefore their care free demeanor helps to create a fun and relaxed atmosphere.
Explore blow painting and learn about how your breath can force the direction and have an effect on your creations. A few drops of colors are placed on the page using a small watercolor brush. The brush is then put aside and the straw is the primary tool. After the watercolor has spread, more drops are added and blown.This unconventional way of painting will open up students to new ways of using tools to make art. They usually think it is silly and therefore their care free demeanor helps to create a fun and relaxed atmosphere.

Tip: Don’t let wet pages slow you down, lay down a piece of wax or parchment paper to prevent sticking, turn the page and keep it going! These techniques are shared in a long tradition of sharing. Thanks to Brooke Hunter Lombardi, and Jillian Harris Davis who showed us many of these techniques.
Funding for this project is by:
The Upper Arlington Education Foundation
Site design, programming, and maintenance by the art department.
This site is not sponsored by the Upper Arlington City School District. Furthermore, the views and opinions on
this web site are not necessarily those of the Upper Arlington City School District
This site is not sponsored by the Upper Arlington City School District. Furthermore, the views and opinions on
this web site are not necessarily those of the Upper Arlington City School District
